Showing posts with label felt. Show all posts

Wednesday, February 27, 2013

DIY My Little Pony Plush - Part 2


Here's part 2 of the DIY My Little Pony Plush post.  (Click here for Part 1)  Don't forget that the full instructions/tutorial can be found at the original source here.

When we last left off I just completed the head of the pony.  Next step is to complete the body.

You want to start by attaching the hoof (circle) to the underbody.  You will start by attaching the circle hoof at two points.  I took a little short cut because I didn't want to attach 2 points.

I pinned a needled into the 2nd point to hold it in place and started sewing at the first point.  That way I can have more flexibility to the half circle.

Wednesday, February 20, 2013

DIY My Little Pony Plush - Part 1


Pin Rating: 4
Difficulty: Intermediate to difficult

I LOVE My Little Pony.  I love the fact that they rebooted the series and I enjoy it just as much as I did while I was a kid.  When a friend posted a blog post featured on OffBeat Families on my Facebook page for a My Little Pony: Friendship is Magic plush tutorial, I knew I had to make one for myself.  Despite there being a template and instructions - provided by Voodoo Tiki over at DeviantArt this project is more difficult than I expected.  I had made my R2D2 plushie a couple of months ago and didn't have too much difficulty so I thought since this one had a pattern it would be even easier - I was so wrong.  I think the most difficult part of this was being patient.  There are a lot of little details but it's well worth it as it all comes together in the end.  I decided to make my own DJ Pon3 with the fleece I had left over from the R2D2 plush.

Still up for the challenge?  Here's what you'll need.


  • Sewing items (Scissors, needle, thread)
  • Fleece 
    • 2 shades of blue fleece
    • White fleece
    • Small piece of Black
    • Small piece of purple
  • Voodoo Tiki Template
  • Polyester Fiber Fill
  • Knowledge of how to do a backstitch - it's more secured compared to a single stitch when you flip the plush inside out.

Wednesday, January 30, 2013

DIY Bedazzled Bib Necklace


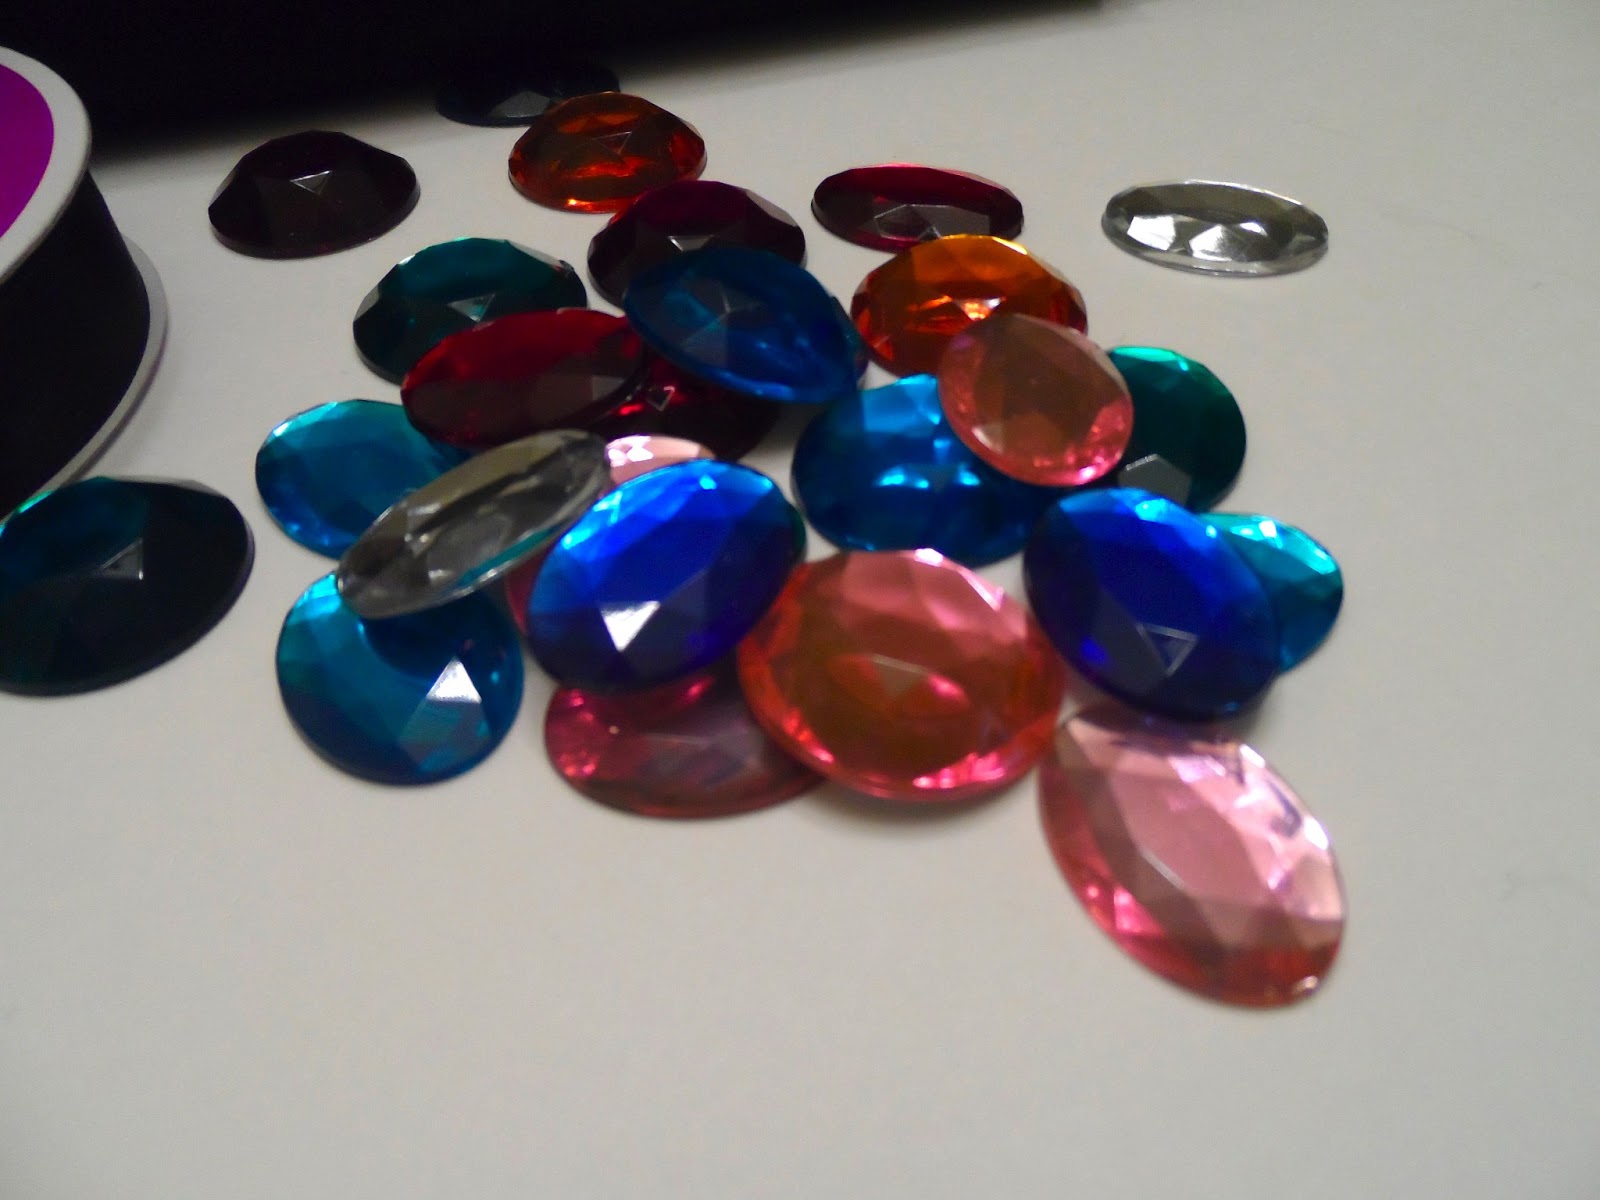
So what does one do with all their left over gems used to make the infinity gauntlet?  Make a bedazzled bib necklace, of course.  I found the original pin on I Spy DIY but didn't have any nail polish handy or any Stick It Craft felt so I went to Pintrest and found something that was just as dazzling but with items I already had on hand and I found this one which is pretty simple and quick to do.

Pin Rating: 5
Duration: 30-45 minutes

Materials:
  • Acrylic gems
  • Black ribbon
  • Felt
  • Hot Glue & Hot glue gun
Optional
  • Tissue/napkin template of bib
  • Needle & thread 
I have crazy glue in the picture but didn't use it.


The picture does no justice for the colors of these beads.

Friday, December 28, 2012

Felt Plushie R2D2 - Part 2


Alright, so we're right where we left off after Part 1 of the making of the R2D2 Plushie.  You have the 3 blue pieces sewn into the top head and other parts are pinned in place ready to sew.  I took a lot more pictures during this process since I found some parts hard to understand or explain so hopefully the amount of pictures will help.  I probably should have split it into 3 parts, but you'll just have to bear with me and the really looooong part 2 post.  So here goes part 2!

The next step will be to sew close the bottom part of the circle onto the head piece.  This means only the circumference of the top circle will be sewn down.  The slit down the middle of the head will be open.  Stuff the head so it's at 80% capacity to help you keep it's shape while you sew it close.

You will eventually close the whole top circle securely onto the head panels.  

Wednesday, December 26, 2012

Felt Plushie R2D2

This is my first attempt at making a felt plushie doll and I'm really happy with the results.  He's 100% handmade with love.  His head turned out a little smaller than I had hopped and his legs are a little buffer than normal...And I probably could have done without the swivel head but I thought it added a nice unique touch and I'm so happy he can actually support his own head (sometimes...).  Despite me pointing out what I think are his flaws, everything turned out okay because he's super cute in his own little way. ^_^

Here's what you'll need:
  • Buttons (1 big black one, some small black, red and white ones)
  • Blue ribbon (I used some 5/8" ribbon left over from my Pearl Bracelet Project)
  • Polyester Fiber Fill
  • Blue, white, grey felt - I was lucky enough to pick some up in the remnants bin
  • Sewing stuff
  • White, blue, grey thread (You'll probably need to switch out your thread to match the felt color you're sewing so more than 1 needle is a plus)
  • Cotton Cable Cord (I had left over from my Hex Nut Bracelet)
  • 1 rivet if you want a swivel head
  • A small piece of Poster board cut out for the feet
  • Basic hand stitching knowledge - stringing needles, stitching & knotting threads
I was fortunate enough to have the majority of the materials laying around the house already.  The remnants and the fiber fill I bought at JoAnn's on Black Friday and since they had 75% off remnants and 50% off fiber fill I left with everything (and some other stuff) for about $6 which was very exciting!  Make sure to always look in the remnants bin and keep an eye out for sales and coupons!

Monday, December 24, 2012

Sneak Peak of my Xmas Crafting Gifts

Happy Holidays everyone!  I hope everyone is enjoying some time off and spending it with family and friends.  This year my family celebrated Christmas a little early so it feels nice to be done with all my Christmas shopping and crafting already.  Granted it was a mad rush to finish all the projects in time since I was pretty ambitious, but it was well worth it!  Since tomorrow is Christmas I'm making today's blog post a little short so I can go back to relaxing, but I did want to provide you with a sneak peak of 2 of my bigger projects I did last week.  These aren't items that you can find on Pintrest but hopefully you will be inspired to pin them and try them out for yourself!


For my brother's girlfriend I made her a felt plushie R2D2 with a head that can swivel!


For my boyfriend I made him a working Infinity Gauntlet.  For those that don't know what that is, check it out by clicking the Wikipedia link below.  Credit for the original gauntlet design goes to: David J. Guyton.  I purchased his template and made some slight adjustments so that I can add the gems to the gauntlet.

Photo Credit: Wikipedia 

Blog post for this Wednesday & Friday will be for R2D2 plushie.  Next week I will blog about the Infinity Gauntlet.  Stay tuned for some serious crafting updates!

Tuesday, October 30, 2012

Vanellope Von Schweetz Costume: Part 2

Candy Hair Clips


Here's the pin that was pinned on the Vanelope von Schweetz board: http://pinterest.com/pin/147422587773391960/

This blog post is my own little tutorial on how to make a candy hair pins with actual candy pieces.  I know these items will not have a long life of use beyond this Halloween and the movie night, but I really wanted to use real candy pieces to give my Halloween costume that nice little extra wow factor. 

  • Felt
  • Bobby pins
  • Candy! I used Smarties, Skittles, Spearmint Candy
  • Sealer (I used Martha Stewart Decoupage Glue & Sealer with Brush - bought it with a 50% off coupon at Michael's :D)
  • Hot Glue gun