

Pin Rating: 4
Difficulty: Intermediate to difficult
I LOVE My Little Pony. I love the fact that they rebooted the series and I enjoy it just as much as I did while I was a kid. When a friend posted a blog post featured on OffBeat Families on my Facebook page for a My Little Pony: Friendship is Magic plush tutorial, I knew I had to make one for myself. Despite there being a template and instructions - provided by Voodoo Tiki over at DeviantArt this project is more difficult than I expected. I had made my R2D2 plushie a couple of months ago and didn't have too much difficulty so I thought since this one had a pattern it would be even easier - I was so wrong. I think the most difficult part of this was being patient. There are a lot of little details but it's well worth it as it all comes together in the end. I decided to make my own DJ Pon3 with the fleece I had left over from the R2D2 plush.
Still up for the challenge? Here's what you'll need.

- Sewing items (Scissors, needle, thread)
- Fleece
- 2 shades of blue fleece
- White fleece
- Small piece of Black
- Small piece of purple
- Voodoo Tiki Template
- Polyester Fiber Fill
- Knowledge of how to do a backstitch - it's more secured compared to a single stitch when you flip the plush inside out.
I won't go into that much detail on the instructions because there is already a tutorial but will caption them the best I can so you can follow along.

And of course some MLP: Friendship is Magic inspiration playing in the background. :)

Print and cut out the template. I modified the tail of the pony to match DJ Pon3.

All the pieces cut out.

Make sure you leave some sewing space for the parts.

Sew E1 to C1.

Sew C2 to D1 on the body. I say to only D1 so that you can add a tail.

For the tail I drew out the design I wanted and then cut it in pieces based on color.

Cut out the individual color pieces of the tail.

Here's what the 2 toned tail looks like. I know that I should have used a brighter blue, but I was trying to reuse what I already had. I think if I decided to another pony with a solid color tail it wouldn't have turned out so time consuming.

Put the two right sides together to sew the seams together.

Here's what my first section turned out to look like.

Here's what it looks like flipped inside out. I was trying to use a bright blue thread to make the seams kind of give it some extra color and a nice pop but it didn't turn out the way I thought it would. Still looks pretty cool though.

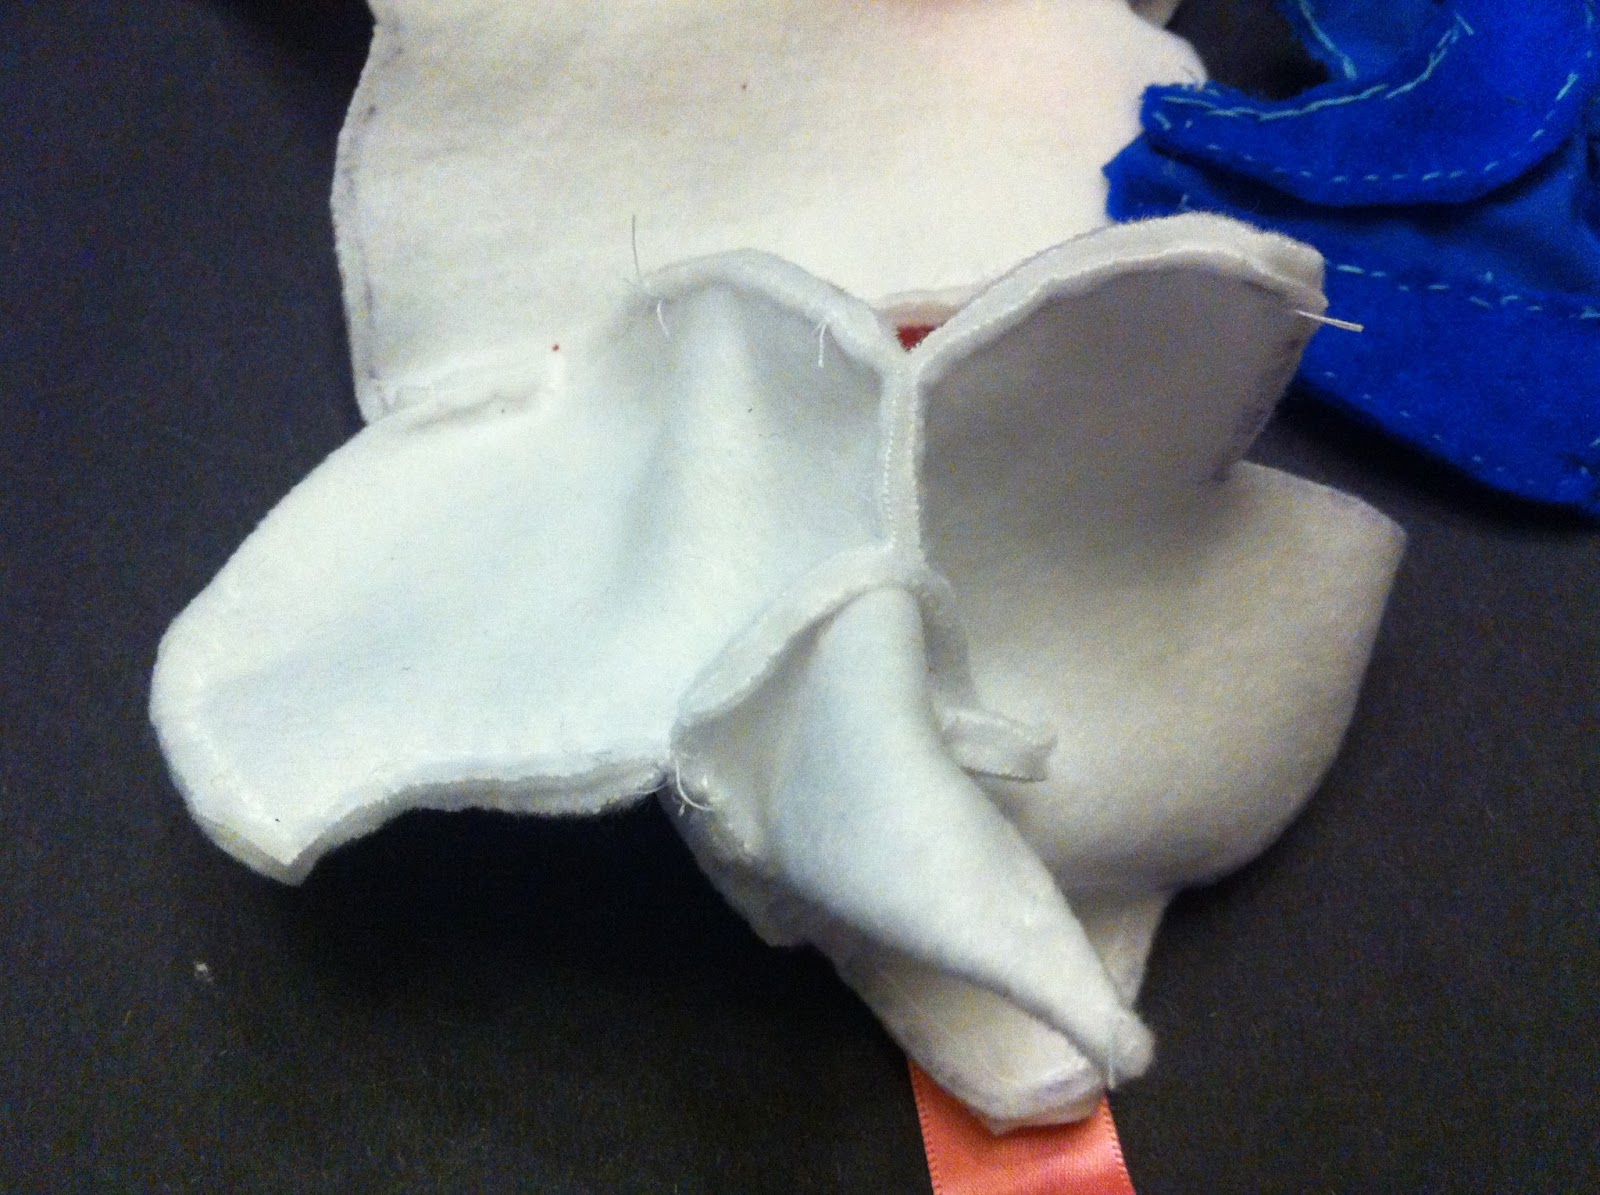
Once your tail is almost finished (this took me a really really really long time to finish) I found it handy to safety pin on one side with a ribbon attached. This will help the tail flip inside out easier since there rare tight spaces.

Make sure you sew right side and right side for tail and rear, otherwise you'll have some tail sticking out when you flip the pony right side.

This pony has a unicorn so I had to make adjustments to the pattern. I cut a triangle and trimmed it until it was about right.

Sew the rest of the face together.

Take the top center piece and sew up to the ears. Don't sew close the front of the nose or the back of the head. You'll need to cut it to accommodate the horn. I left the back of the head open to allow for my flex and read to the areas that I did need to sew.

Stop once you've sewed close the ears on both sides.
Sew in the horn starting from the front of the pony head. Cut the remaining top center head piece to accommodate the horn to sew in seamlessly to the top.

Now you have a nice pony head with horns!
Stay tuned for next week's post for the rest of the pony to come together.
need more
ReplyDelete