

Original Pin: http://pinterest.com/pin/231724343298734063/
Original blog: Little Inspirations
Pin rating: 5
Duration: 30-45 minutes
I love making fabric flowers but I never thought of making a fabric flower necklace until I saw it on pintrest. This is super easy and such a beautiful end result. My flower template is a little different from the original tutorial but this was the way I taught myself to make the flowers so I just kind of stuck with it for this tutorial. I also tried out the Fray Check for the first time and I kind of like it except for the fact that it's noticeable when it dries - granted Fray Check is probably better used for clothes that will be washed. Also, my pictures this time around are all a tint of blue...I'm not sure why but I tried to fix and adjust them as much as possible so please bear with me as I'm still learning the photography aspect of blogging.

- Small flower template
- Fabric
- Felt (not pictured)
- Chain
- Hot glue gun & glue sticks
- Scissors
Optional
- Needle & thread
- Fabric pencil
- Fray Check
- Jump rings
- pliers to break the chain
- Necklace clasp

Use the flower template to trace out 5 flower template for each flower piece you're making. If you are not using fray check you don't need to trace out each flower. You can stack the fabric and cut only once. Since I was using fray check for the first time I wanted to try it out to see what it's all about.

Dab the fray check around the traced out flower and then cut.

I'm making 3 large flowers for the necklace so I'm going to have 15 pieces total cut out.

Cut out 3 circle felt pieces (or however many pieces you desire)

For two of the pieces you will need to either sew or glue the chain piece to one of your felt circle. Eventually you will need to do this to 2 of them. But I started with 1 for now.

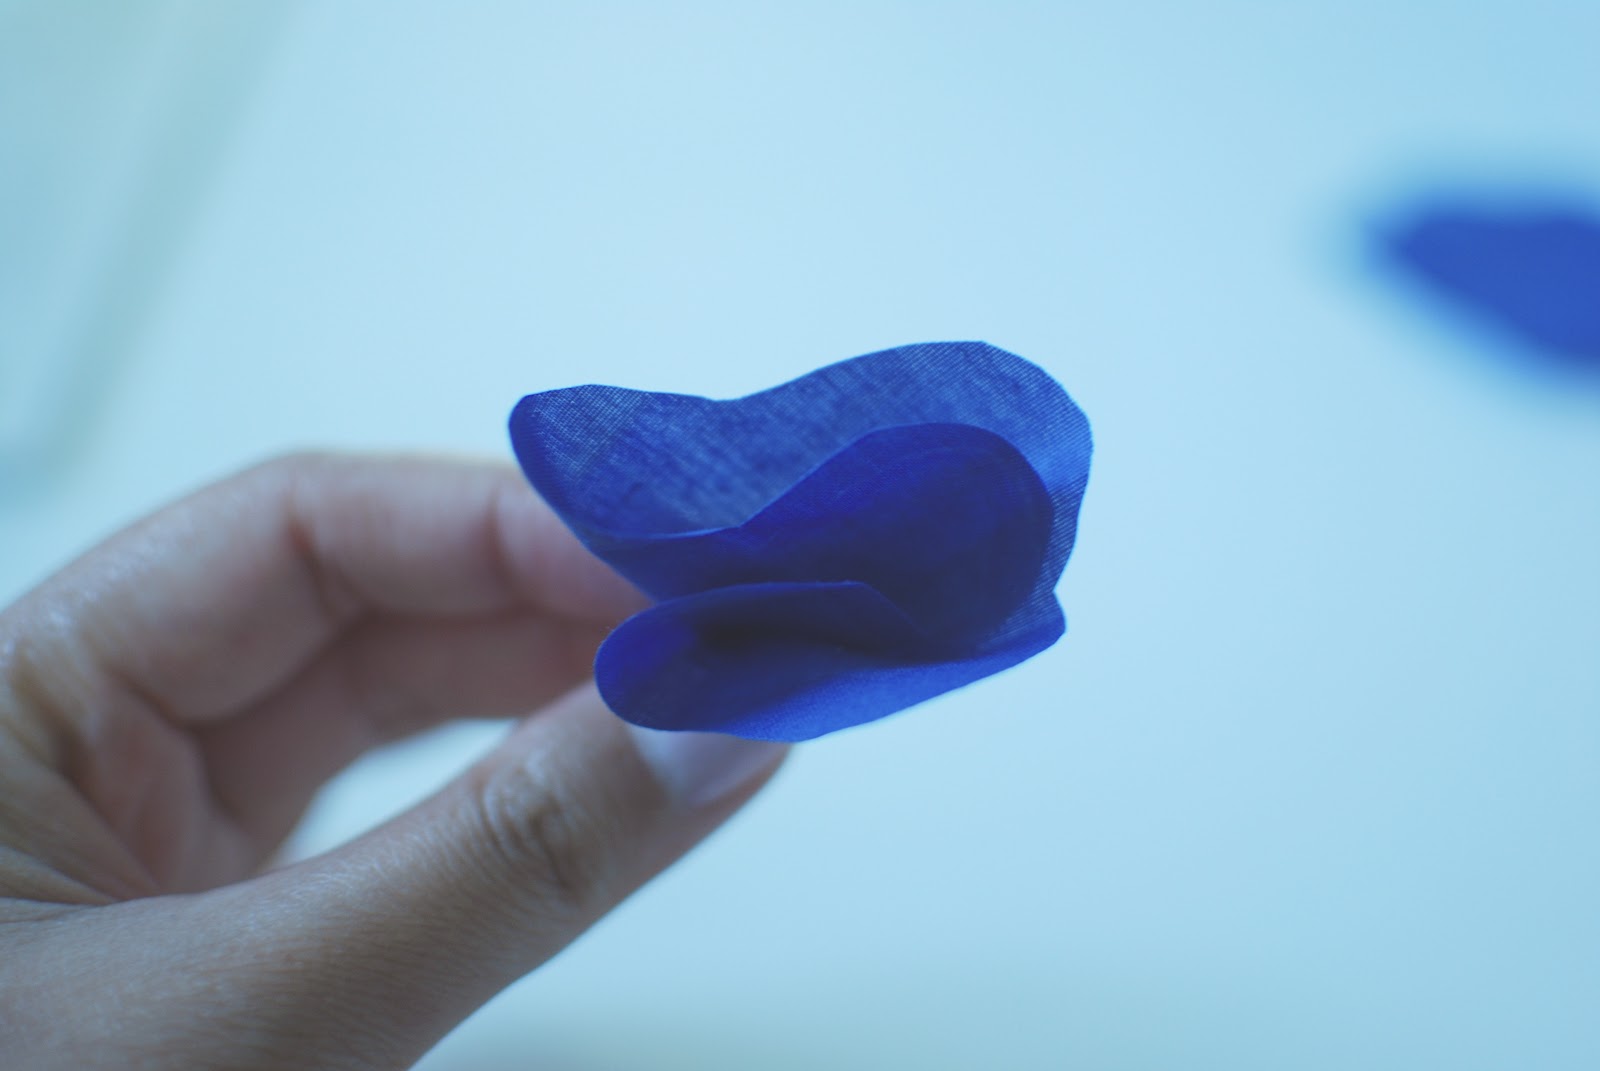
Now take the hot glue gun and put a dab of glue in the middle and fold it in half.

Put another dab of glue at the bottom middle of the petal and fold it again.

You should now have a shape that looks like this.
"Top" view of the petal

You should be left with a bunch of petals now :) Aren't they pretty?

Now take the flower and put the tip of the flower at the center of the felt piece. I find it easier to spread the glue on the felt piece and then lay down the petals.

The 4 petal pieces fit nicely in quarters of the felt circle.

So after you glue down the 4 pieces it should look like this.

For the 5th piece place a glue glob on the tip of the petal and place it tip down into the center of your flower piece.

Your final fabric flower should look like this.

To connect all of the pieces you need to cut out a u-shaped felt piece. Make sure it's symmetric.

Glue on the pieces with the chain to one of the ends and adjust the final chain piece to your liking around your neck to get the right length. Attach the other pieces onto the U shape and connect the final chain to the other end.
You can adjust the necklace so that it goes over your head or that you have a clasps in the back. If you want to have the clasp in the back you can complete the whole chain first - one end to the other, then cut the middle where it will sit on the back of your neck and add a jump ring and a clasps.
No comments:
Post a Comment