


What you'll need:
- 1 yard of fabric (36-38 inches wide) in their favorite color
- 4 yards of ribbon*
-
Iron-On Alphabet
*
- Sewing (Machines, needles, scissors etc.)
*An alternative for the ribbon is to get just 1 yards to cover the front sides of the sash only. No need to cover the whole sash if you don't want to purchase 4 yards of ribbon. I was lucky enough to buy a whole bag full of ribbon at SCRAP-SF for 50 cents! :)
*If you don't want to purchase Iron-On Alphabets, an alternative is to use fabric glue and glitter or fabric puff paint.

Cut 4 strips of fabric 1 yard x 5 in.

Take 2 strips and sew one of the short ends (5in) together. Here I'm using my quarter inch foot which fortunately came with the purchase of my sewing machine. I love this foot!

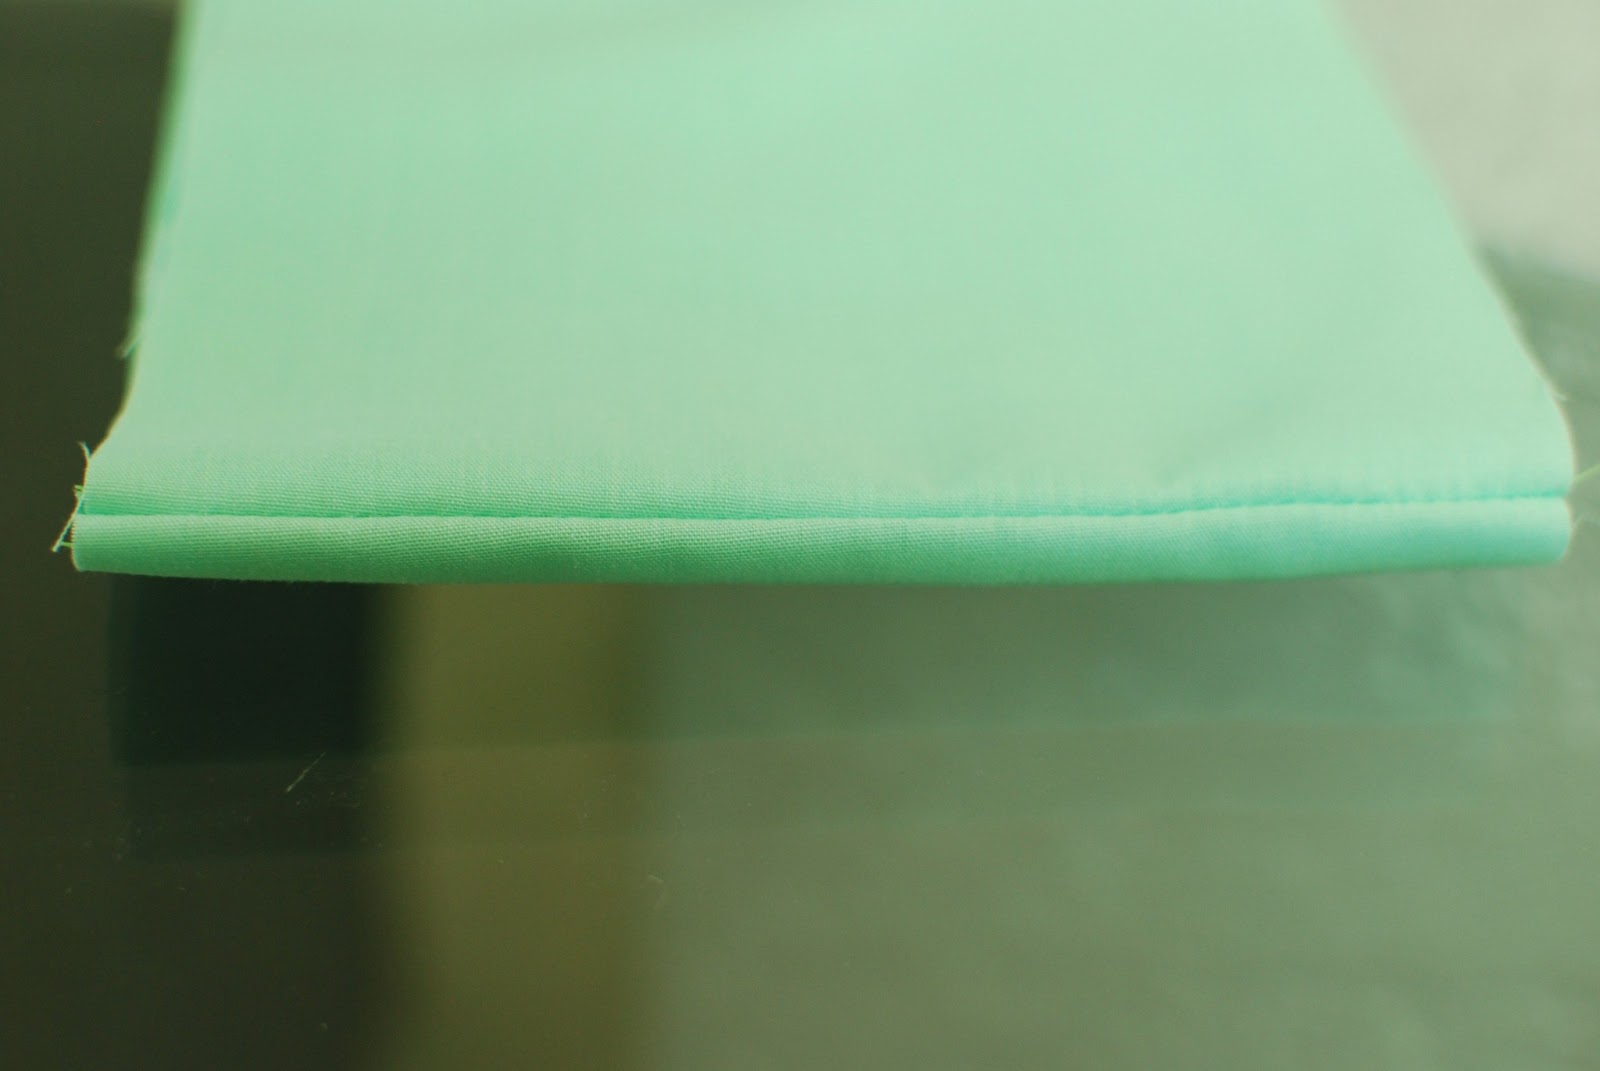
Here's what the piece should look like once you're done. Now repeat with the remaining 2 strips of fabric.
Lay the strips out so that they are wrong sides together. Then fold it so that you can see where the top shoulder seam of the shash is (pictured above.) This is to prep you for the next step.

I made a cut on the bottom (unsewn) end of the sash to give it a nice diagonal look. You can keep it uncut if you want but I feel like this gives it a cuter finish.

Now line up the sash right sides together and evened out with the center seam.

Now it's time to insert the lace in the middle of the seam. You want to sandwich your lace inbetween the two sashes and then pin it down.

Here's what it looks like on the inside. I know it looks a little funny now, but once you flip it inside out it will be very cute!

Line both lengths with ribbon. With one width, you will have to cut a small strip. I originally tried to keep my whole lace in once piece by pinching the edge of the ribbon but it didn't turn out as nice as I had hopped. So you're better off cutting a small 7 in strip of lace and sandwiching it in between the lace lined lengths.

In the end you want to make sure to leave one side of the width open so that you can flip your sash inside out. I didn't take a photo of it, but now you will sew the sandwiched lace all the way around the sash and leave one opening. Once you've done that, flip it inside out.

To close out the bottom of the sash, cut two 7in pieces of lace.

Now sandwich the sash with the lace.


Sew that piece down and you are all done with the sewing portion of your sash!

Iron your sash to make sure you have it nice and flat for your iron ons. Follow the instructions for your iron on letters. This one required to be peeled from the paper and place paper side down.

Apply pressure and iron on your letters. Don't forget to follow the instructions. Each iron on is different. Once you finish your iron on phrase you'll need a safety pin to pin the sash together at the ends to make it a complete sash.
Phrase Ideas: Birthday Girl, Birthday Diva, Bachlorette, 21st Birthday, Sweet 16, It's My Birthday!

Here's the birthday girl modeling her sash. :)
No comments:
Post a Comment