Showing posts with label Ribbon. Show all posts

Wednesday, June 12, 2013

Sew Your Own Sash Tutorial


My sister's coworker birthday was yesterday and she had asked me to help her make a birthday sash.  She wanted to add some lace to glam it up so I decided that I was going to sew a double layered sash.  I started looking on Pintrest for some tutorials on how to sew a sash, but it seemed like everyone was posting No-sew Sash tutorials and sew tutorials for dress sashes.  So I decided to make my own Sew Your Own Sash Tutorial.


What you'll need:
  • 1 yard of fabric (36-38 inches wide) in their favorite color
  • 4 yards of ribbon*
  • Iron-On Alphabet*
  • Sewing (Machines, needles, scissors etc.)
*An alternative for the ribbon is to get just 1 yards to cover the front sides of the sash only.  No need to cover the whole sash if you don't want to purchase 4 yards of ribbon.  I was lucky enough to buy a whole bag full of ribbon at SCRAP-SF for 50 cents! :)

*If you don't want to purchase Iron-On Alphabets, an alternative is to use fabric glue and glitter or fabric puff paint.

Wednesday, January 30, 2013

DIY Bedazzled Bib Necklace


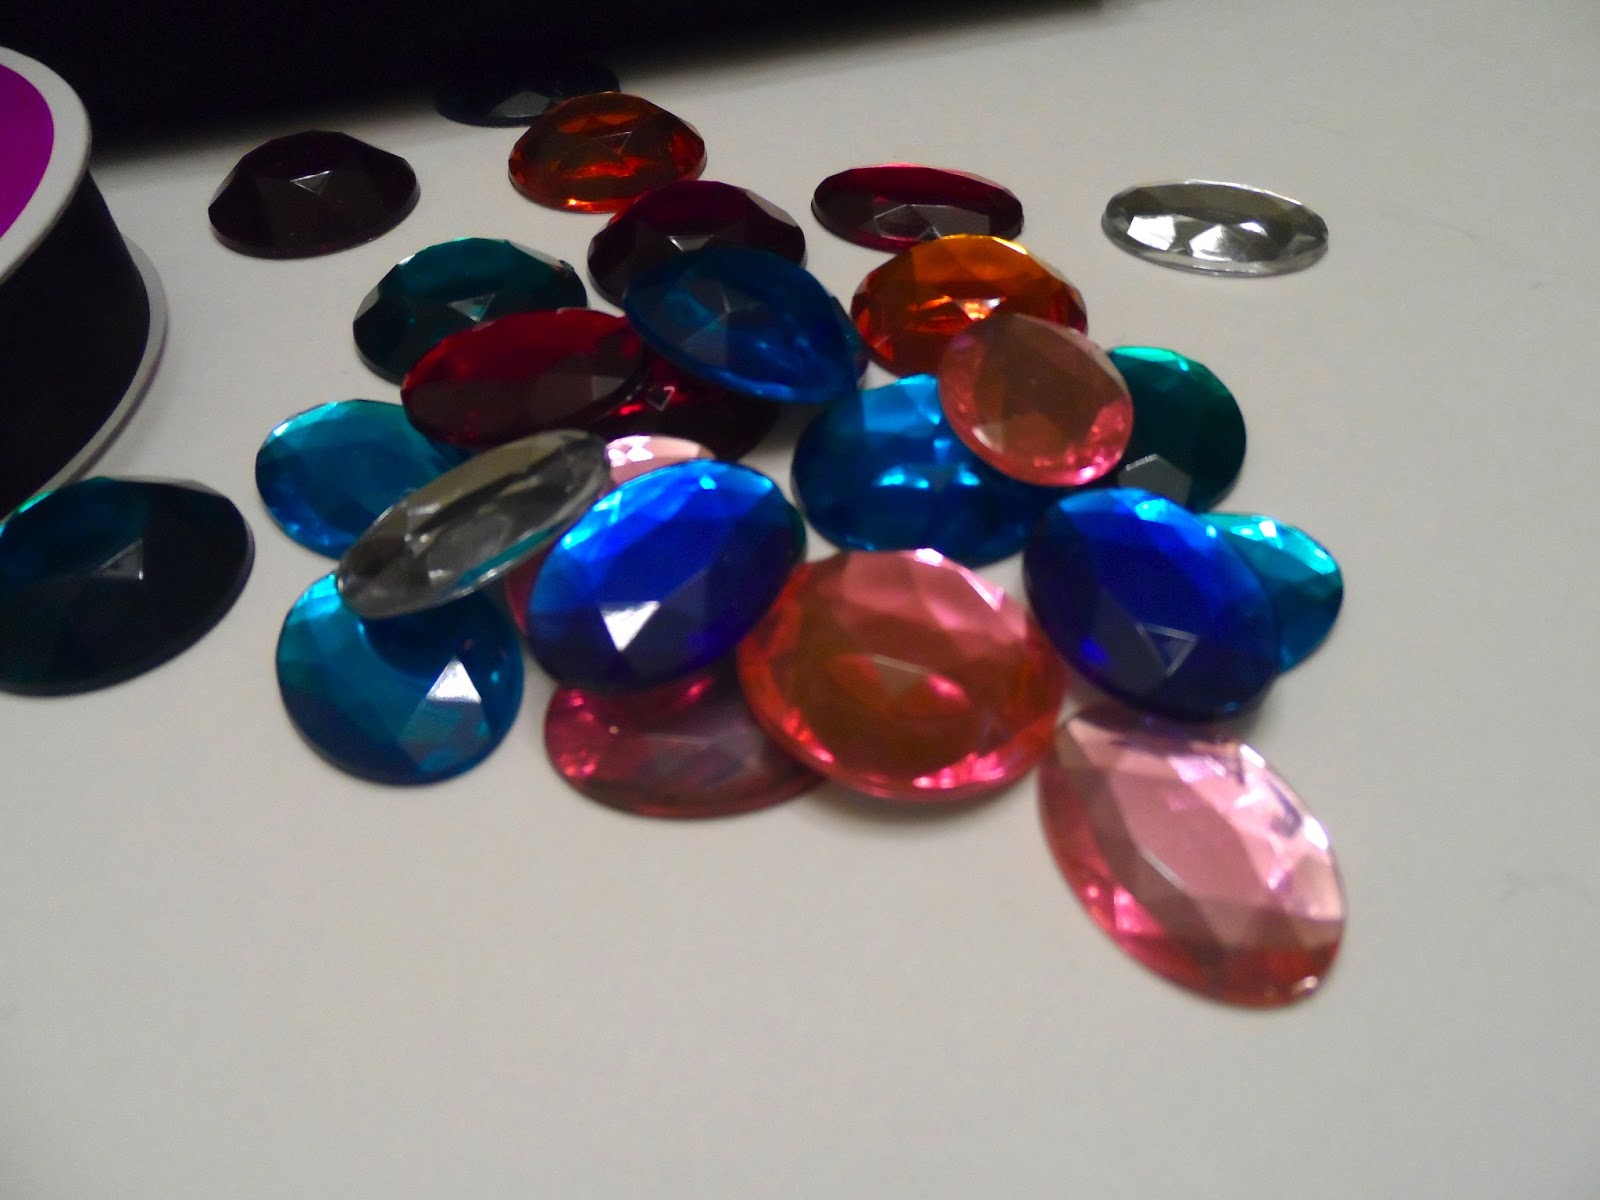
So what does one do with all their left over gems used to make the infinity gauntlet?  Make a bedazzled bib necklace, of course.  I found the original pin on I Spy DIY but didn't have any nail polish handy or any Stick It Craft felt so I went to Pintrest and found something that was just as dazzling but with items I already had on hand and I found this one which is pretty simple and quick to do.

Pin Rating: 5
Duration: 30-45 minutes

Materials:
  • Acrylic gems
  • Black ribbon
  • Felt
  • Hot Glue & Hot glue gun
Optional
  • Tissue/napkin template of bib
  • Needle & thread 
I have crazy glue in the picture but didn't use it.


The picture does no justice for the colors of these beads.

Friday, December 28, 2012

Felt Plushie R2D2 - Part 2


Alright, so we're right where we left off after Part 1 of the making of the R2D2 Plushie.  You have the 3 blue pieces sewn into the top head and other parts are pinned in place ready to sew.  I took a lot more pictures during this process since I found some parts hard to understand or explain so hopefully the amount of pictures will help.  I probably should have split it into 3 parts, but you'll just have to bear with me and the really looooong part 2 post.  So here goes part 2!

The next step will be to sew close the bottom part of the circle onto the head piece.  This means only the circumference of the top circle will be sewn down.  The slit down the middle of the head will be open.  Stuff the head so it's at 80% capacity to help you keep it's shape while you sew it close.

You will eventually close the whole top circle securely onto the head panels.  

Wednesday, December 26, 2012

Felt Plushie R2D2

This is my first attempt at making a felt plushie doll and I'm really happy with the results.  He's 100% handmade with love.  His head turned out a little smaller than I had hopped and his legs are a little buffer than normal...And I probably could have done without the swivel head but I thought it added a nice unique touch and I'm so happy he can actually support his own head (sometimes...).  Despite me pointing out what I think are his flaws, everything turned out okay because he's super cute in his own little way. ^_^

Here's what you'll need:
  • Buttons (1 big black one, some small black, red and white ones)
  • Blue ribbon (I used some 5/8" ribbon left over from my Pearl Bracelet Project)
  • Polyester Fiber Fill
  • Blue, white, grey felt - I was lucky enough to pick some up in the remnants bin
  • Sewing stuff
  • White, blue, grey thread (You'll probably need to switch out your thread to match the felt color you're sewing so more than 1 needle is a plus)
  • Cotton Cable Cord (I had left over from my Hex Nut Bracelet)
  • 1 rivet if you want a swivel head
  • A small piece of Poster board cut out for the feet
  • Basic hand stitching knowledge - stringing needles, stitching & knotting threads
I was fortunate enough to have the majority of the materials laying around the house already.  The remnants and the fiber fill I bought at JoAnn's on Black Friday and since they had 75% off remnants and 50% off fiber fill I left with everything (and some other stuff) for about $6 which was very exciting!  Make sure to always look in the remnants bin and keep an eye out for sales and coupons!

Friday, December 14, 2012

Some completed projects

So I'm taking a mini break in blog posting today to update you guys on some completed projects.  I didn't want to post the pictures since they were gifts, but my friends and I celebrated a little early last weekend and opened up the gifts already.  Here's a final look at 2 of the projects.


For the Scrabble pillow cases I used my own template and fabric marker.  I love the clean look the fabric marker provides for the cases, but unfortunately it uses a lot of ink to fill in the letters.  I'm going to have to use felt lettering for any other pillows I make.  It might take longer, but it's not worth buying a pack of fabric markers just so I can use all of the black.  I'm going to go back to Hobby Lobby or JoAnn's to look for a thick black marker sold individually which might work better for me.

If you would like your own set of Scrabble Pillow cases but don't have the time to make them, I have them for sale in my Etsy shop.


Here's the final design of the Off the shoulder t-shirt.  I designed and hand drew the minnie myself (inspired by Vintage Minnie) using the fabric markers I had purchased for the Scrabble pillow cases.  Isn't it cute?!


Wednesday, December 5, 2012

DIY Off the shoulder T-shirt


This blog post is a little different because I didn't actually follow any step by step blog tutorial from a pin.  This project was actually inspired when I was shopping and there was a really expensive shirt that I wanted to buy and just couldn't afford.  I decided to try my luck at making it and I think it was a success!  I looked over the two DIY t-shirt modified pins on pintrest and got a feel for how they converted their shirts and kind of experimented with it until I was satisfied with the look.  I hope you like the final result as much as I do!  I don't have the picture of the final shirt being worn since this is a gift but I'll make sure to get a final photo and post it later.

  • Sewing machine & sewing stuff (needles, thread, scissors, fabric pencil optional)
  • Cotton T-shirt 1 size larger than what you typically wear
  • Ribbon

Wednesday, November 21, 2012

DIY Pearl Ribbon Bracelet

Original Pin: http://pinterest.com/pin/231724343298464677/

Pin Rating: 3
Difficulty: Medium
Duration: 40 minutes

When I saw this pin I was in awe of how pretty it looked and easy it seemed to be to make.  After I clicked on the link I realized that it was part of a round up blog post and didn't actually include the original link or instructions.  Clicking on the link provided led me to a Pintrest pin and basically I went in circles.  Looking at the link on the website I see that it's a website in another language that I don't see any content.  So all in all I felt disappointed in the original pin which is why I gave it a 3 pin rating.  So I did this pin going off of the pictures alone and felt like this pin is one of the first pins where it looked really easy but wasn't when I actually tried to do it.  Overall result is a great DIY bracelet, but it took a little patience and made me wish I had a 3rd hand to help.  Hopefully this tutorial will help you guy out a lot better than the original pin I found floating around on Pintrest.


 You can probably do this with a regular thread instead of the stretch magic cord if you're making it for yourself so you can make the exact adjustments, but since I'm making these as gifts I wanted some stretch room just in case.  :)